


How to Make Espresso at Home
Great espresso at home comes down to three things: good coffee beans, a decent espresso machine, and a bit of practice. That's genuinely it.
Espresso itself is simple in principle: hot water forced through finely ground coffee beans under high pressure, producing a small, concentrated shot with a layer of crema on top. That's also what makes it more sensitive to get right than other brew methods — which is where this guide comes in.
This guide focuses specifically on espresso. For the full picture — grind size, ratios, and choosing between every brewing method — see our complete guide to making coffee at home.
The good news is that modern home espresso machines have made this far more approachable than it used to be. You don't need to train as a barista to pull a shot that's genuinely close to what you'd get at a coffee shop — you just need to understand a handful of variables and be willing to make small adjustments as you go.
Want a solid espresso each morning with minimal fuss? Set your machine up once and repeat the routine. Want to go deeper and dial in every variable in the hunt for the perfect shot? That's available to you too. This guide covers the fundamentals either way, whatever machine you're using.
What You Need to Get Started
Before you make your first shot, get your gear together. You don't need much:
-
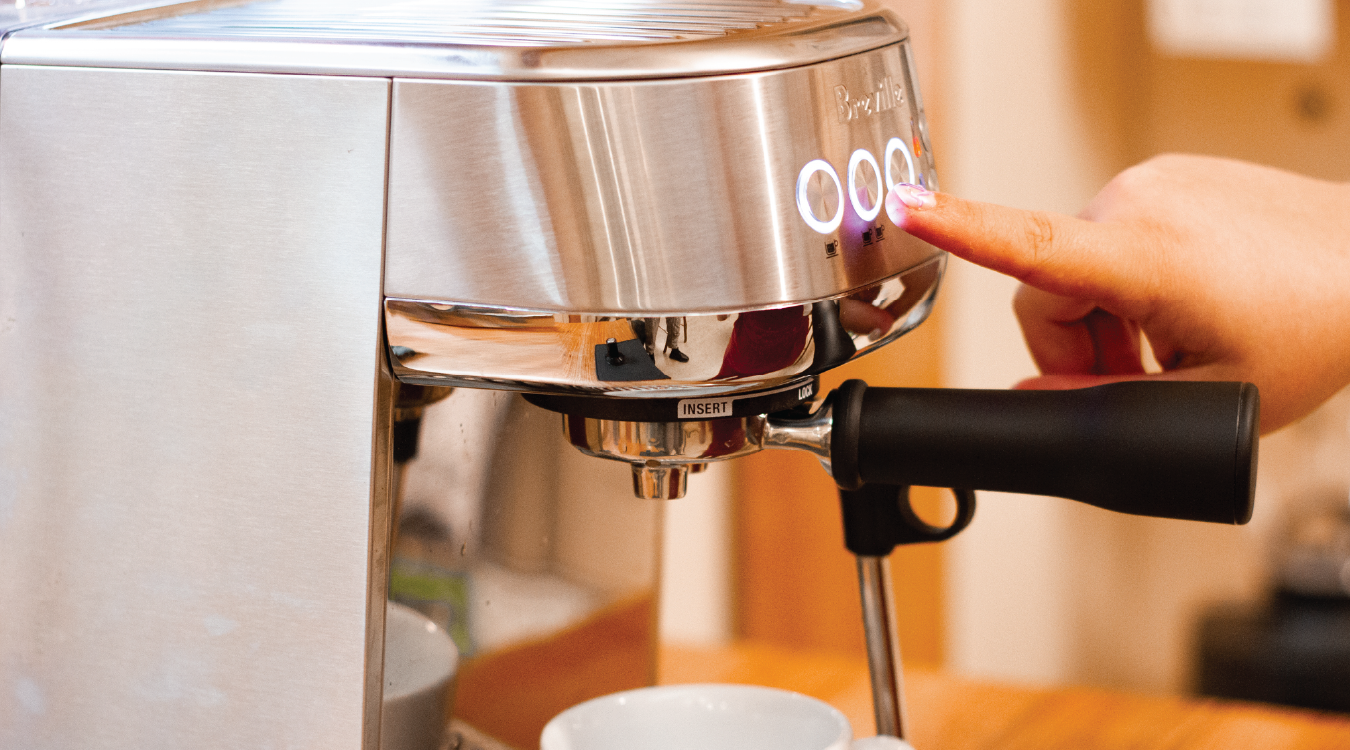
An espresso machine
-
A decent burr grinder rather than a blade grinder, since it gives a far more even grind; see our grinder guide for what to look for
-
A tamp
-
Scales
-
A cloth or two
-
A container for used coffee grounds (a knock box, compost bin, or bin all work)
- Coffee! An espresso roast is what you need, particularly an espresso blend if you are adding milk. Our best-selling Shadow Boxer Blend is a terrific option.

Whatever home espresso machine you're using — entry-level or something more serious — the process below applies.
Don't have an espresso machine yet? A moka pot or French press won't produce true espresso, but both get you a similarly concentrated, full-bodied cup — see our stovetop guide or French press guide if that's more your setup. The best brewing method is the one that suits you and your equipment.
Start With Fresh Beans
Espresso is unforgiving of stale coffee. It concentrates flavour more than any other brew method, so anything past its best — beans that have sat too long, or pre-ground coffee — shows up in the cup as flat or bitter.
Buy whole beans, grind just before you brew, and look for a roast date rather than a "best before" date on the bag. We roast to order and ship fresh — browse our espresso roasts or set up a subscription so you're never brewing tired beans.
Dial In Your Grind
Grind size has the single biggest impact on how your espresso tastes. Water needs to pass through the coffee bed at the right rate — too fast, and the shot runs thin, sour and watery. Too slow, and it turns bitter or burnt.
As a starting point, aim for a fine, slightly gritty texture for your coffee grind — finer than table salt. From there, adjust in small steps: coarser grind if your shot is running too slow, finer grind if it's running too fast. Our grinder guide goes deeper into choosing and dialling in a grinder if you want the full picture.
Dose and Tamp
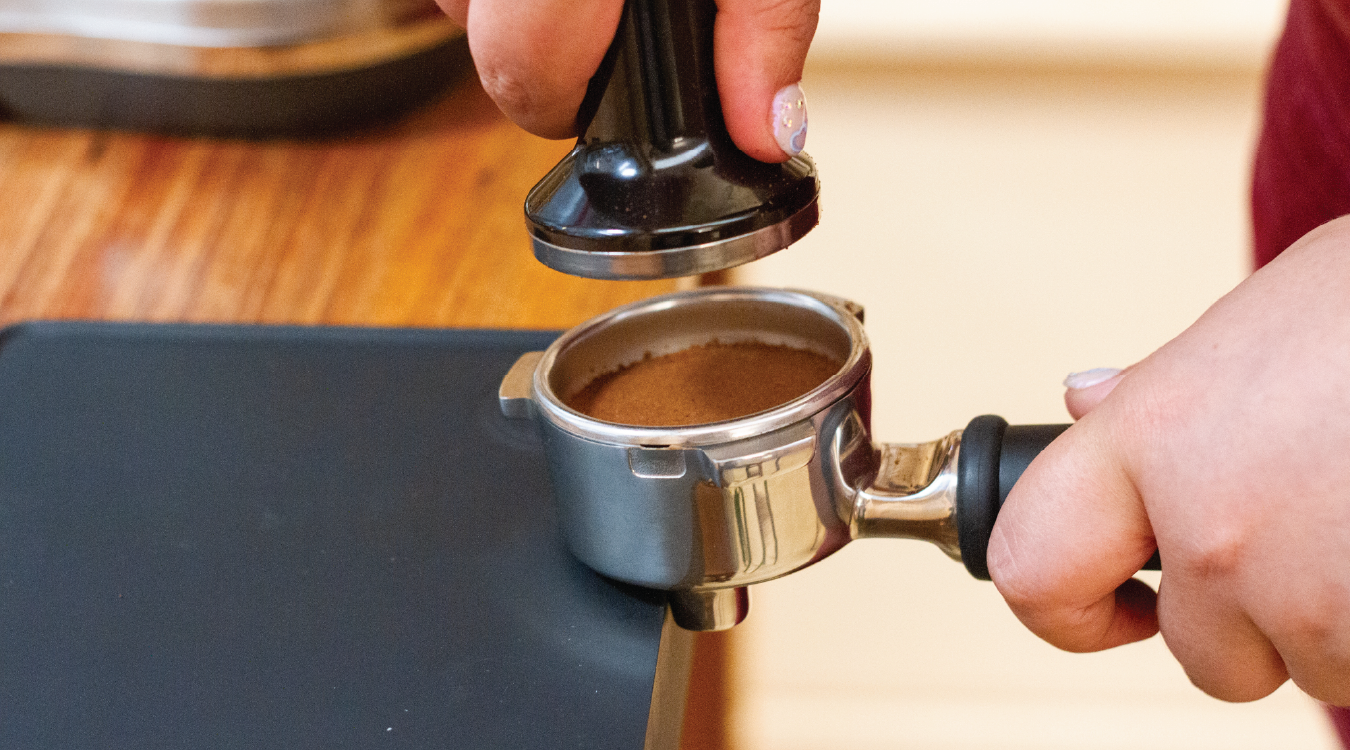 Lock in your portafilter with an empty basket and run some hot water through it for 5–10 seconds. This brings the group head up to temperature so there's no heat loss when you pull your actual espresso shot. Dry the portafilter basket before continuing — any leftover moisture or old grounds will throw off your extraction.
Place the portafilter on your scales and tare. Grind your beans straight into the basket and weigh to your machine's recommended dose — most standard double-shot baskets sit around 18 grams, but check yours to be sure. Using the right dose for your basket size makes a bigger difference to the final cup than almost anything else you'll do.
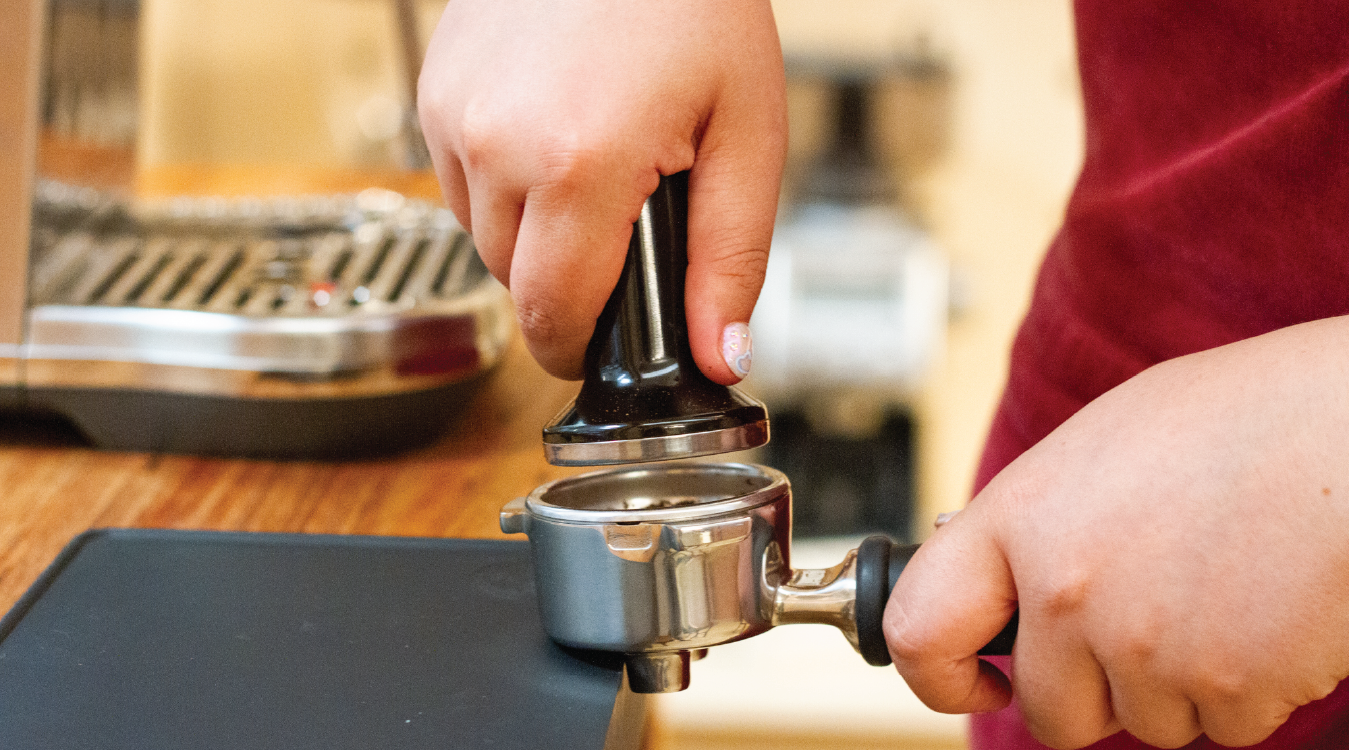
Once the grounds are in, give the portafilter a few gentle taps to level the surface — you're not trying to compact it, just even it out. Then tamp: hold the tamp the way you'd hold a door handle, elbow at 90°, forearm level with the bench, and push straight down until you feel firm resistance. Check around the edges with a finger to make sure the tamp sat level. Wipe any loose grounds from the rim before locking the portafilter into the machine.
Extraction: Ratio and Timing
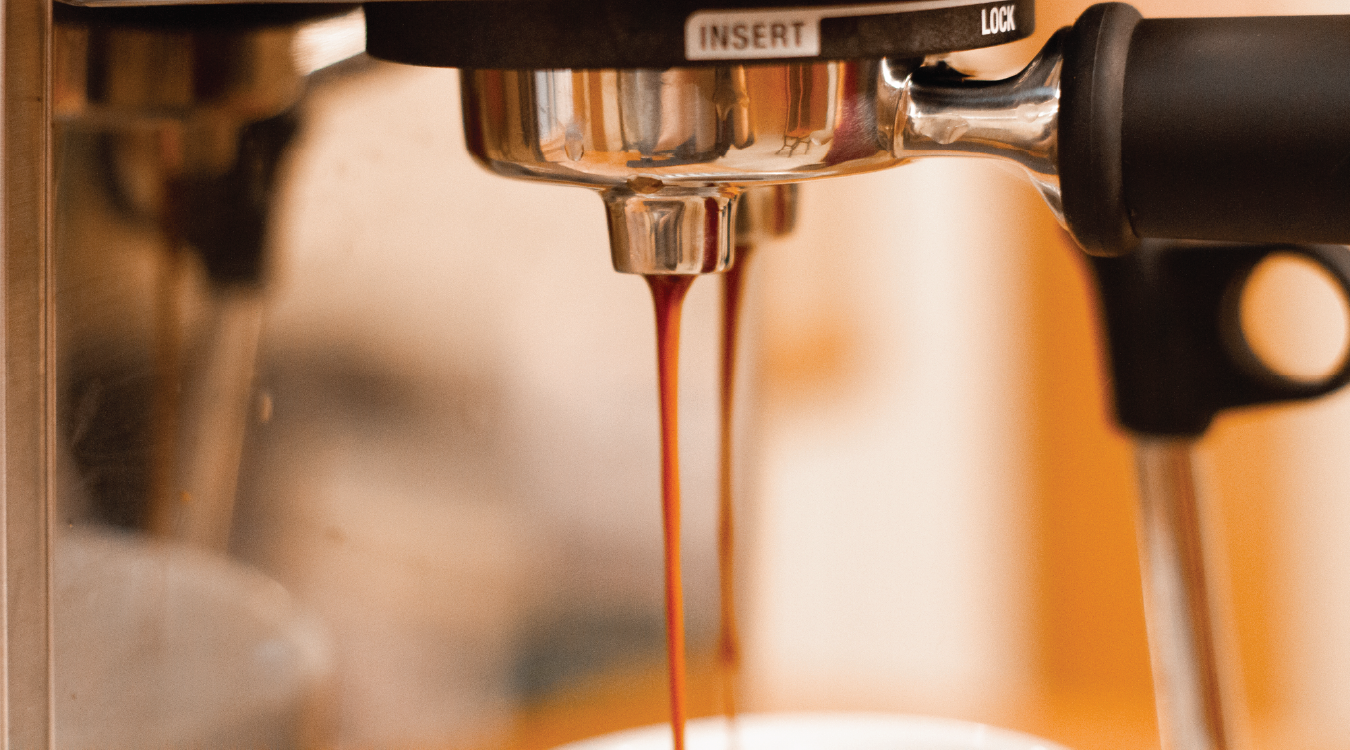
Start with a 1:2 ratio — roughly double the weight of espresso out for the dose of coffee in. So 18g in gives you around 36g out. We call this the espresso recipe. Weigh the liquid espresso as it runs and stop it once you're close to your target; the last few drips will carry it the rest of the way.
A shot in that range should have an extraction time of around 25–30 seconds. Running faster than that, your grind is probably too coarse; slower, and it's too fine. Adjust one variable at a time — dose, grind, or ratio — so you actually know what changed the result.
Taste it! Espresso can be intense for many people, but a good shot is genuinely worth learning to enjoy. It should be rich and full-bodied, balanced with natural sweetness and a rounded, pleasant bitterness — not the harsh, ashy bitterness of an over-extracted shot, or the thin sourness of an under-extracted one.
-
Lighter roasts often taste better with a longer ratio; worth experimenting with once you're comfortable with the basics.
-
Dark roast coffee can be easier to dial in and blends well with all types of milk.
-
Water temperature plays a role too — most machines regulate this automatically, but if yours is adjustable, start around 93°C and treat it as another variable to fine-tune once the basics are dialled in.
Steaming and Texturing Milk
If your machine has an automatic steam function, this step is mostly hands-off — fill your jug, position it, and let the machine do the work. If you're steaming manually, it takes a bit more practice but isn't difficult once you've got the motion down:
-
Fill your milk jug with cold milk, to just below the spout
-
Purge the steam wand briefly over the drip tray before you start
-
Position the jug so the tip of the wand sits just below the surface, slightly off-centre
-
Hold it near the surface for a few seconds to introduce air, then lower the jug slightly so the wand submerges deeper — this creates a whirlpool that spins the milk and folds the foam through evenly
-
Stop once the jug feels hot to touch, around 65°C
-
Wipe the wand down and purge it again afterwards, so no milk is left inside
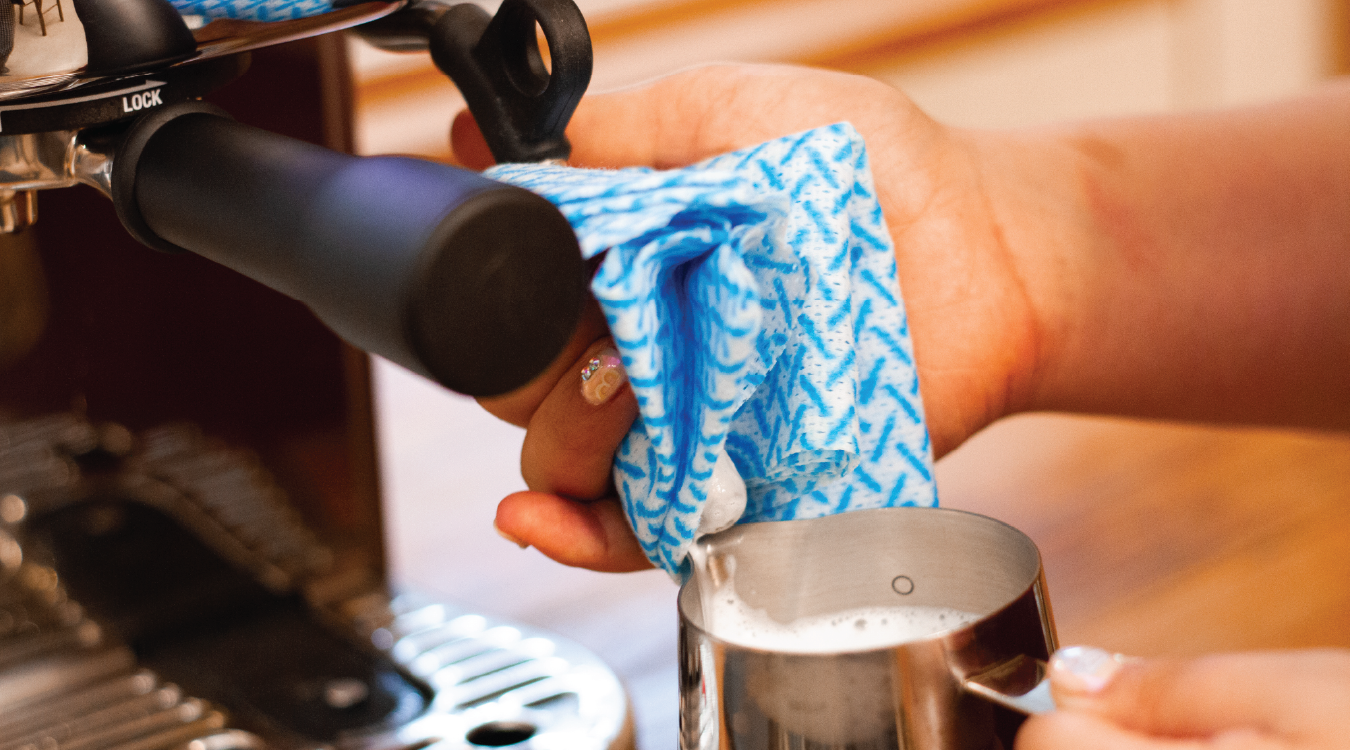
Either way, you're aiming for the same result: glossy, velvety milk with no large bubbles.
Common Mistakes and Fixes
-
Shot pulling too fast, tasting sour or thin — grind finer
-
Shot pulling too slow, tasting bitter or burnt — grind coarser
-
Inconsistent shots day to day — check you're weighing your dose each time, not eyeballing it
-
Milk with big bubbles instead of microfoam — you're likely introducing air for too long, or too close to the surface
For a deeper look at fast-pulling shots specifically, see our guide on why your espresso might be extracting too quickly.
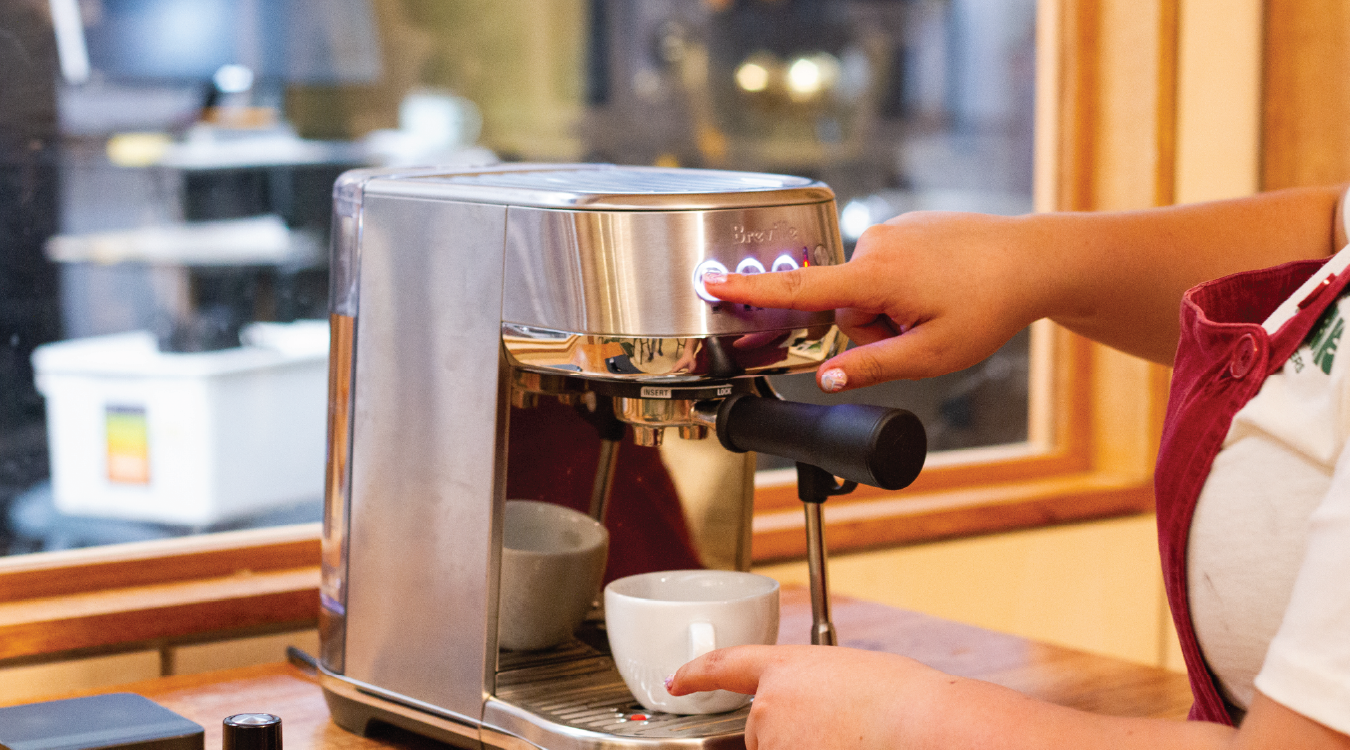 Get these fundamentals right and you'll land a genuinely café-quality espresso — the same recipe applies whatever machine you're using.
Technique only gets you so far — none of it matters much if the beans behind it are tired.
Shop our espresso roasts, roasted specifically to hold up under pressure and pull time, and put everything above into practice.
Frequently Asked Questions
What does a good espresso shot look like while it's pouring?
Can I make espresso without a machine?
